Add your Conda environment to your Jupyter Notebook
By default, Jupyter Notebook will only display a single kernel (called ipykernel) when installed in a new environment. Here’s a procedure for choosing another Conda environment in a Jupyter Notebook.
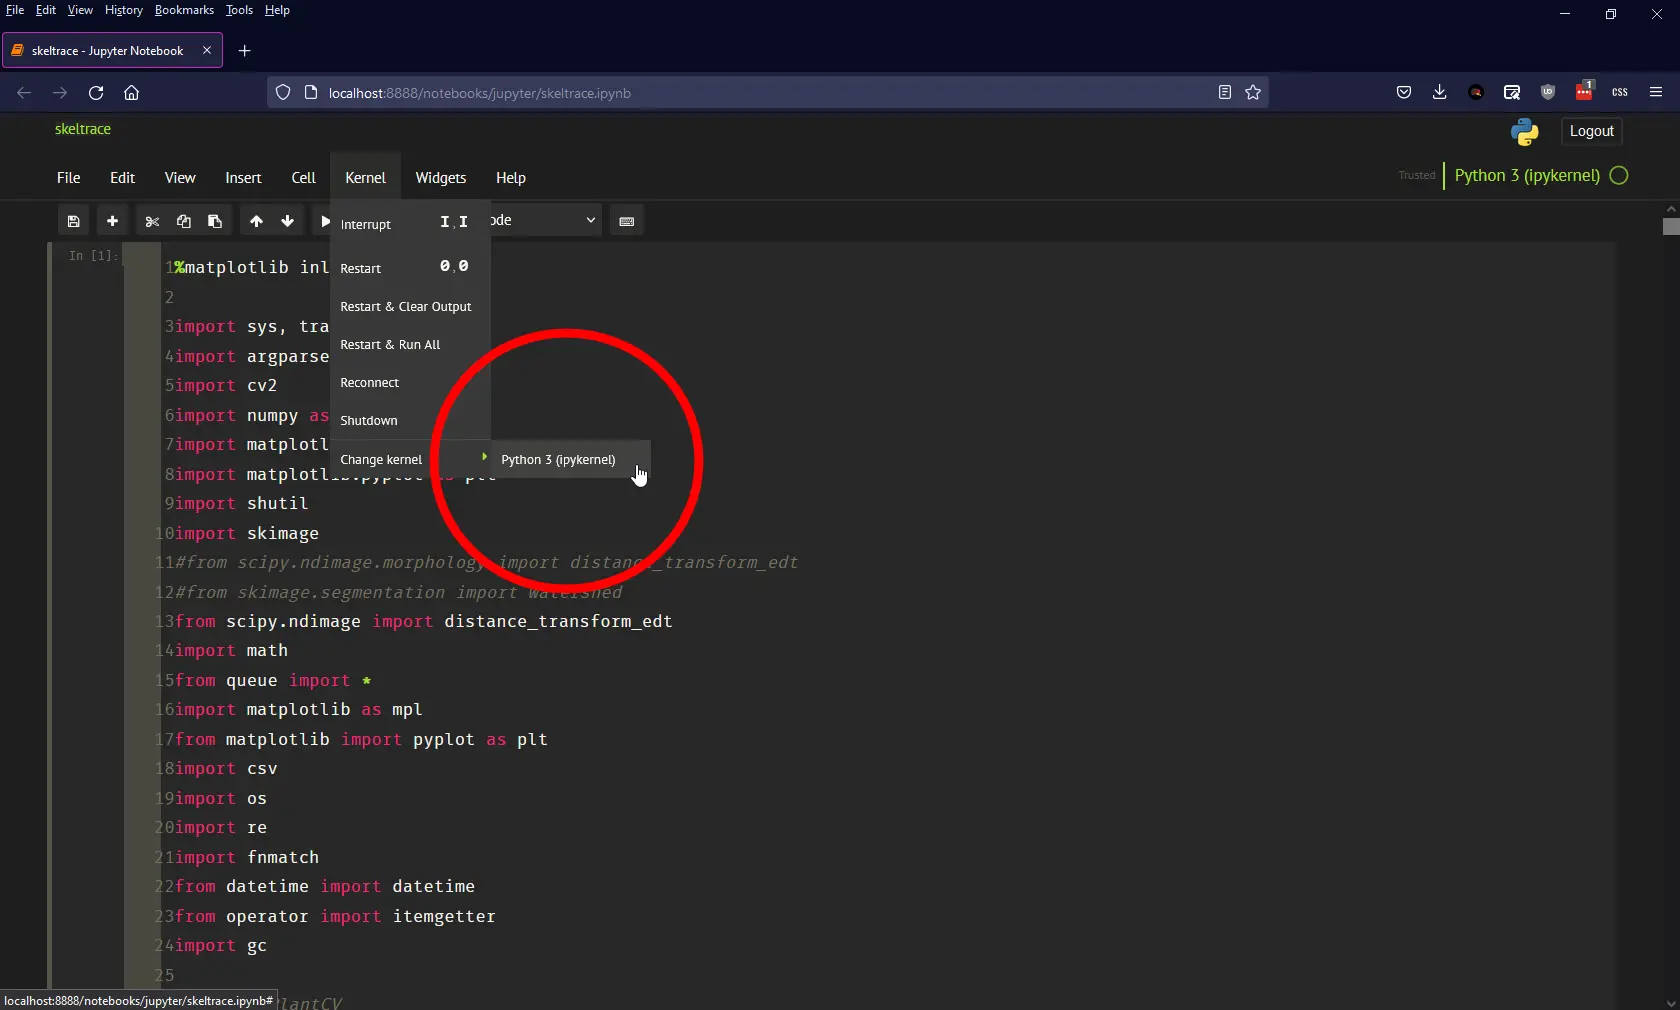
Jupyter Notebook’s default kernel is called ipykernel and often isn’t much use.
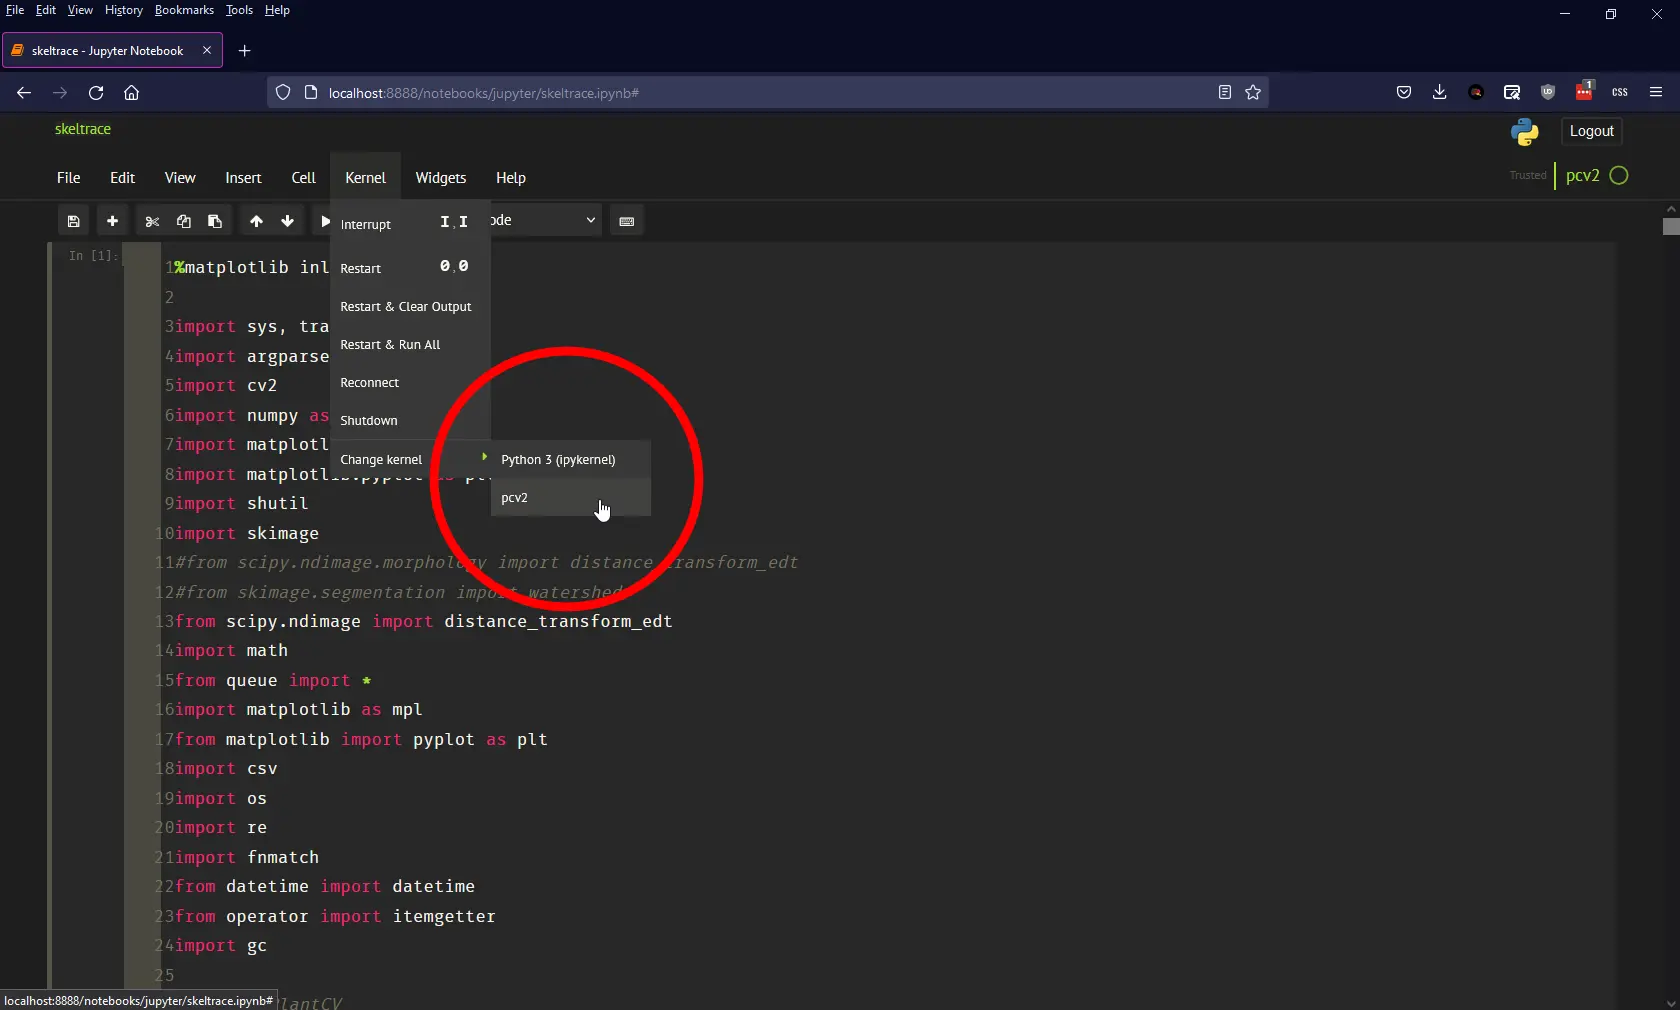
To enable a kernel from your Conda environment in Jupyter Notebooks, open a command prompt and activate your target environment. In my case, the environment is called pcv2:
activate pcv2Next, enter the following Conda command:
conda install -c anaconda ipykernelthen:
python -m ipykernel install --user --name=pcv2Now activate your Jupyter Notebook:
jupyter notebookWhen Jupyter Notebook opens, the new kernel should be available. Within Jupyter, you can select the new kernel via Kernel > Change Kernel > [Kernel Name].
Comments
No comments have yet been submitted. Be the first!