Upgrading to Windows 10 on an older PC
My experience upgrading from Windows 7 to Windows 10 on a 5yo laptop could have been better, but some good planning will ensure a smooth transition to Microsoft’s latest operating system.
For several months, Microsoft have been running a campaign promoting a free upgrade to Windows 10 for anyone who has Windows 7, Windows 8 or Windows 8.1 installed on their PC. I had Windows 7 Home Premium installed on a Lenovo W500 laptop that I purchased in 2009. Given that the computer is still performing well for its age (truly!), I decided that an upgrade to Windows 10 might be a worthwhile investment of time.
Several months ago, the Windows 10 logo appeared in the task bar of my computer, advising that my machine was eligible for an upgrade. I looked into it further and indeed, my laptop did meet the specification requirements.

With several hours to kill on a sunny Sunday afternoon, I decided to embark on the big upgrade to Windows 10. Here’s an account of what happened and what I learnt along the way.
Data backup
Mine is an old computer with much data. Before I commenced the upgrade, I backed-up all files that I cherished (music, photos, documents etc) to DVD’s and deleted all that I could from the machine to create as much space as possible. It was a good opportunity to delete thousands of old files that I no longer needed (Powershell was very useful).
Never proceed into an upgrade without doing this!
Obtaining my product key
The next step was to obtain my Windows 7 product key, as I was told that I’d need it for Windows 10. This is printed on the Windows sticker that is attached to computers with a factory install of Windows. Unfortunately in my case, the sticker had worn down so that the label was illegible.
To get around this I installed produKey which was able to recover it from the registry. (Belarc also works well, I tried that too).
Creating an ISO
It is quite possible to upgrade from Windows 7 to Windows 10 by using the aforementioned icon in the tray. If that option is chosen, Windows 7 will download Windows 10 into a hidden folder located at c:\$windows.~BT. (To view this folder, click on the link or otherwise open File Explorer and go to: Organize > Folder Options > View > Show hidden files, folders, and drives).
I didn’t want to persue this option because I would be updating at least three other machines aside from my own. Using the icon would mean that I’d have to download the 3.2GB data three times. Thankfully Microsoft have a small programme that will create an ISO image so that Windows 10 can be burnt to a DVD for installation on multiple machines. This option saves a lot of data.
When I opened the programme, it gave me the option to make an ISO for the 32-bit version, the 64-bit version or both. Since I would ultimately be requiring both, I decided to create a disk for both.
Lession 1: The combined 32-bit and 64-bit Windows 10 ISO doesn’t fit on a DVD!
Unfortunately Microsoft don’t make it clear that the combined 32/64 bit ISO won’t fit on a DVD because it’s almost 7GB in size (a DVD holds 4.7GB). Having downloaded the whole lot into an ISO, I was unable to do anything with it and had to repeat the process again with just the 64-bit edition.
Once I’d burnt my DVD, I was ready to begin.
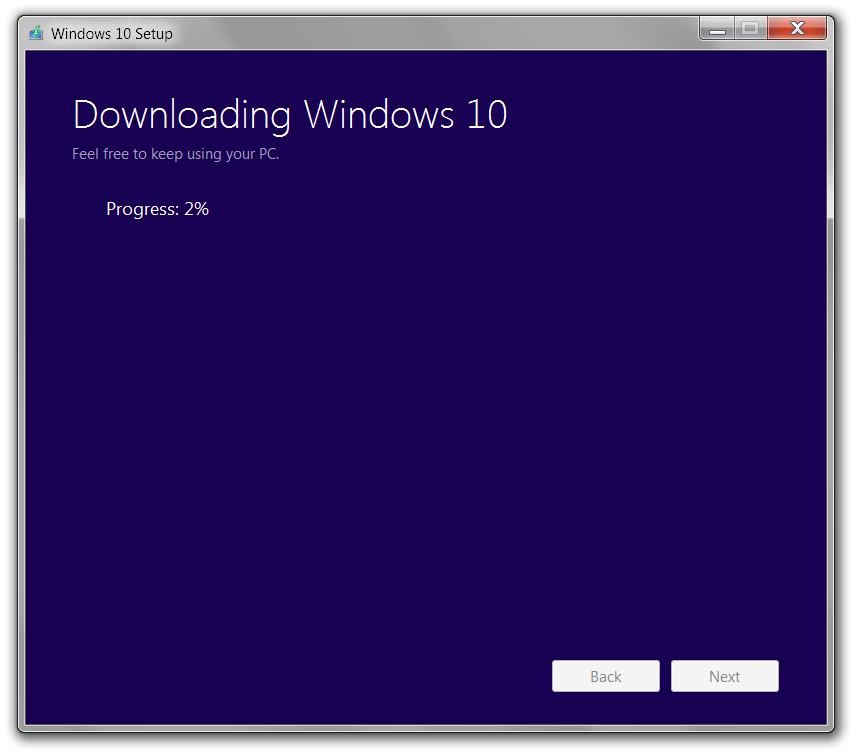
Installing Windows 10
Lession 2: The 3.2GB download isn’t the end of it.
Having downloaded Windows 10 into an ISO image, I mistakenly believed that the downloads would be finished. The Windows 10 installer proceeded to download an unquantifiable number of additional files from the Microsoft servers. Thankfully this didn’t take too long, but I have no idea how much additional data was used.
Next, the installer warned me that I’d have to remove one programme and another may not work. This step was as easy as clicking a couple of buttons.

Following those steps, the Windows 10 install commenced. Installation took approximately 1.5 hours and involved quite a number of restarts. Unfortunately in my case, it hit a snag.
Kernel Security Check Failure
My install failed after the second restart with a “Kernel Security Check Failure” (error code 0xC1900101-0x40017).
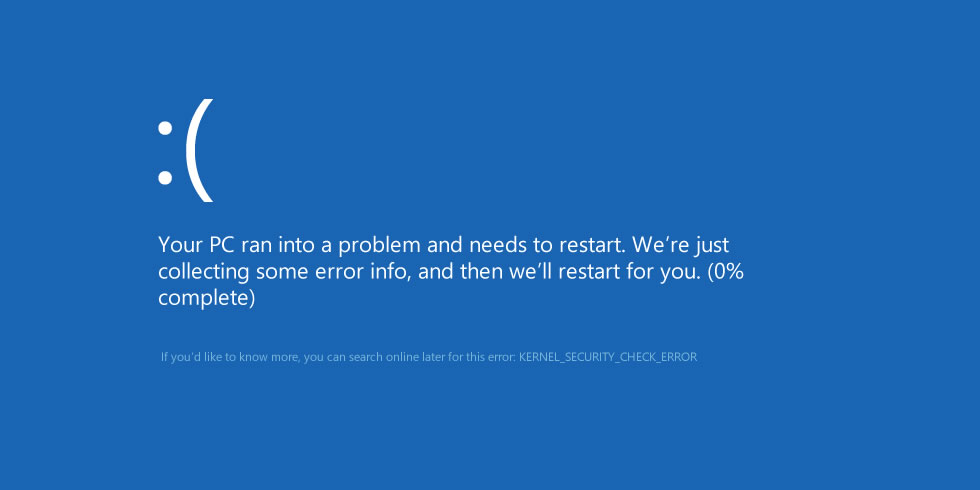
As it turns out, this was a common problem in Windows 8.1 and seems to have resurfaced again in Windows 10. My install of Windows 10 made several attempts to fix it, couldn’t so then restored by system back to Windows 7 again. Fail.
I looked up this problem and found some suggestions:
- Antivirus programmes can interfere with Windows 10 installations (so I uninstalled Avast).
- Verifying drivers and running the scf function in the command prompt can help identify problems (although nothing was found in my case).
Back to Square 1
Determined that things would work and having made the necessary checks, I again attempted to install Windows 10. On the second attempt, it installed and seemed to work successfully, although some of the screen elements looked unusual. Then I opened Adobe Photoshop CS6 and the system crashed. From that point forward, Windows 10 would only open in “safe mode”. Clearly something was wrong.
Windows 10 made repeated attempts to fix the problem by entering a loop of resetting itself. When finally presented with troubleshooting suggestions, I chose to “reset my PC” with the option of keeping my files. Resetting a PC works by:
- Reinstalling Windows 10 but keeping personal files.
- Removing apps (programmes) and drivers that were installed on the system.
- Removing changes that were made to settings.
- Removing any apps the PC manufacturer installed.
Dramatic as this sounds, this worked well and Windows 10 was successfully installed onto my machine. Of course, I had to reinstall all of my software including antivirus, VPN, Microsoft Office, Adobe Creative Suite, Adobe Reader and so-on. Thanfully Windows 10 made a nifty HTML file that listed every piece of software that had been uninstalled and saved it to my desktop.
Lessons from installing Windows 10 on an old machine
It seems to me that installing Windows 10 on an older machine isn’t without risks. Here are my lessons:
- Back-up all important data and remove as much as possible from the computer hard drive before upgrading a machine to Windows 10.
- Make sure you have back-up copies of all software, including product keys for reinstallation and registration.
- If choosing the option to create an ISO image of Windows 10 for installation, choose either the 32-bit or 64-bit version to image, but not both.
- Have your Windows product key handy. You may need it, although in my case Windows 10 never asked for it.
- Be patient!
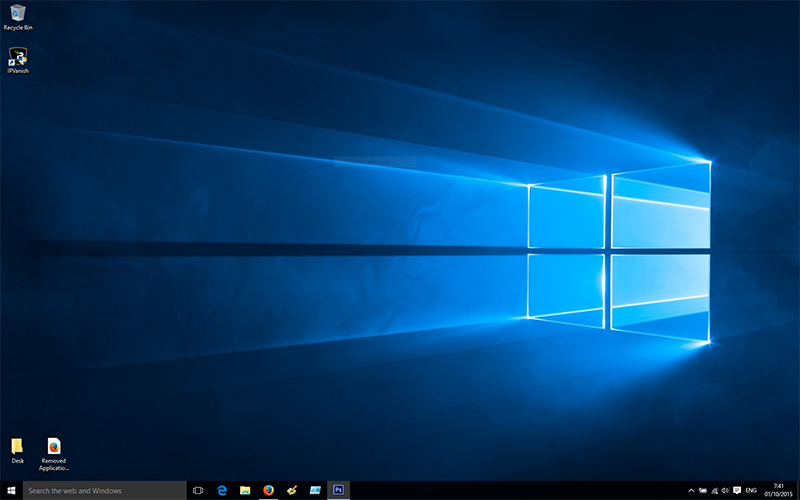
The Windows 10 experience
Having now installed Windows 10, I am quite impressed. The basic functionality is similar to Windows 7 insofar as the start menu is concerned (this was a major criticism of Windows 8). I have found, to my surprise, that my computer is performing better than it did on Windows 7; programmes (“apps”) are starting faster than they ever did on Windows 7, although the massive clean-out of my hard drive may have contributed to that.
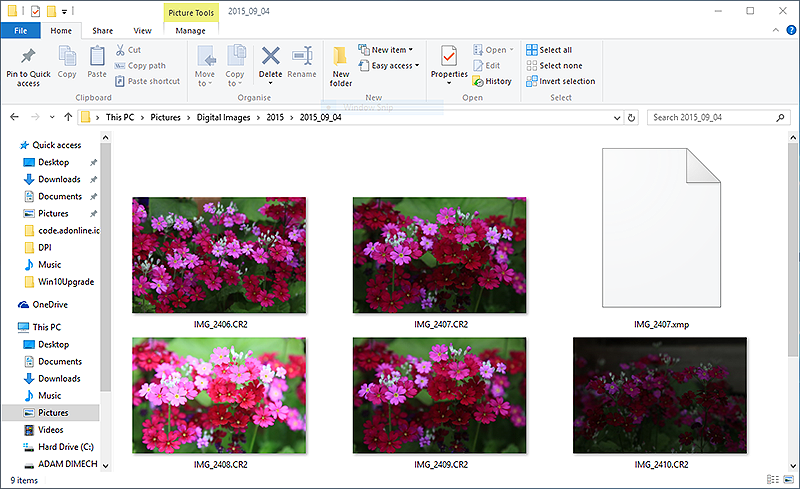
One of the most useful features that I have noticed is that Windows 10’s picture viewer can natively preview Canon raw image (.cr2) files. Up until now, I had to run a separate programme to see what each .cr2 file contained. Not anymore!
The clunky old Windows Media Player has been replaced with an app called Groove Music. This is quite an improvement on the previous product.

One of the aspects of Windows 10 that I don’t like is the information sharing and lack of privacy. As can be seen from the image below, Windows 10 managed to automatically connect to my Flickr and Twitter accounts without my knowing (I logged in via Firefox browser).
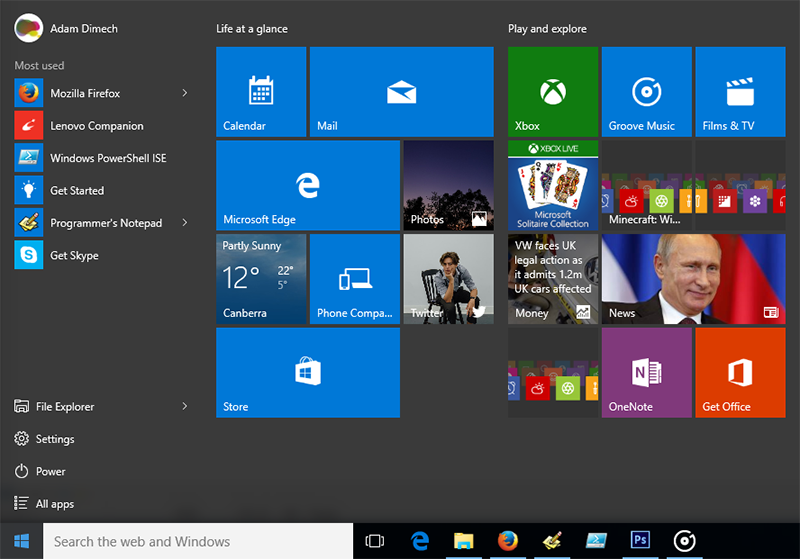
Unfortunately, I have limited data and I don’t want itwasted by Windows 10 showing me weather for Canberra (when I live in Melbourne) or irrelevant news from the United States when I live in Australia. I am also quite uncomfortable seeing private Flickr pictures in my tiles (these should only be visible to family). I didn’t purchase a VPN so I could share my private data with Microsoft. Finally, ads annoy me and there’s no place for them on my desktop.
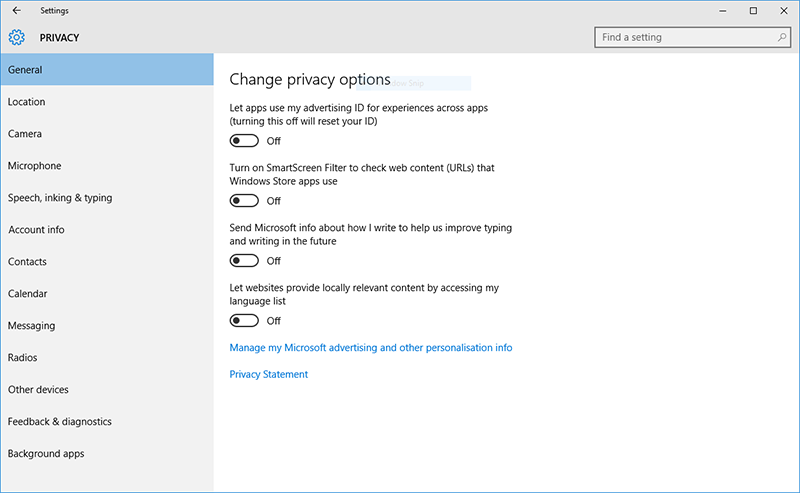
Thankfully instructions exist on how to switch most of this rubbish off. It’s not hard to do: Go to the Settings button in the start menu, choose “privacy” and then click through the multitude of settings.
Additionally, any of those information tiles can be right-clicked and the option to “turn live tile off” activated.
In conclusion
Operating system upgrades can be a nuisence and cause considerable inconvenience. I have learnt a lot from this single experience of upgrading from Windows 7 to Windows 10 and feel much more confident upgrading the rest of my family’s computers. Hopefully you’ve also found this post informative.
Comments
One response to “Upgrading to Windows 10 on an older PC”
Good post! Found it interesting. Only thing I noticed most was… ‘Baby, baby’…!?!?!?! :D what on earth do you listen to??????